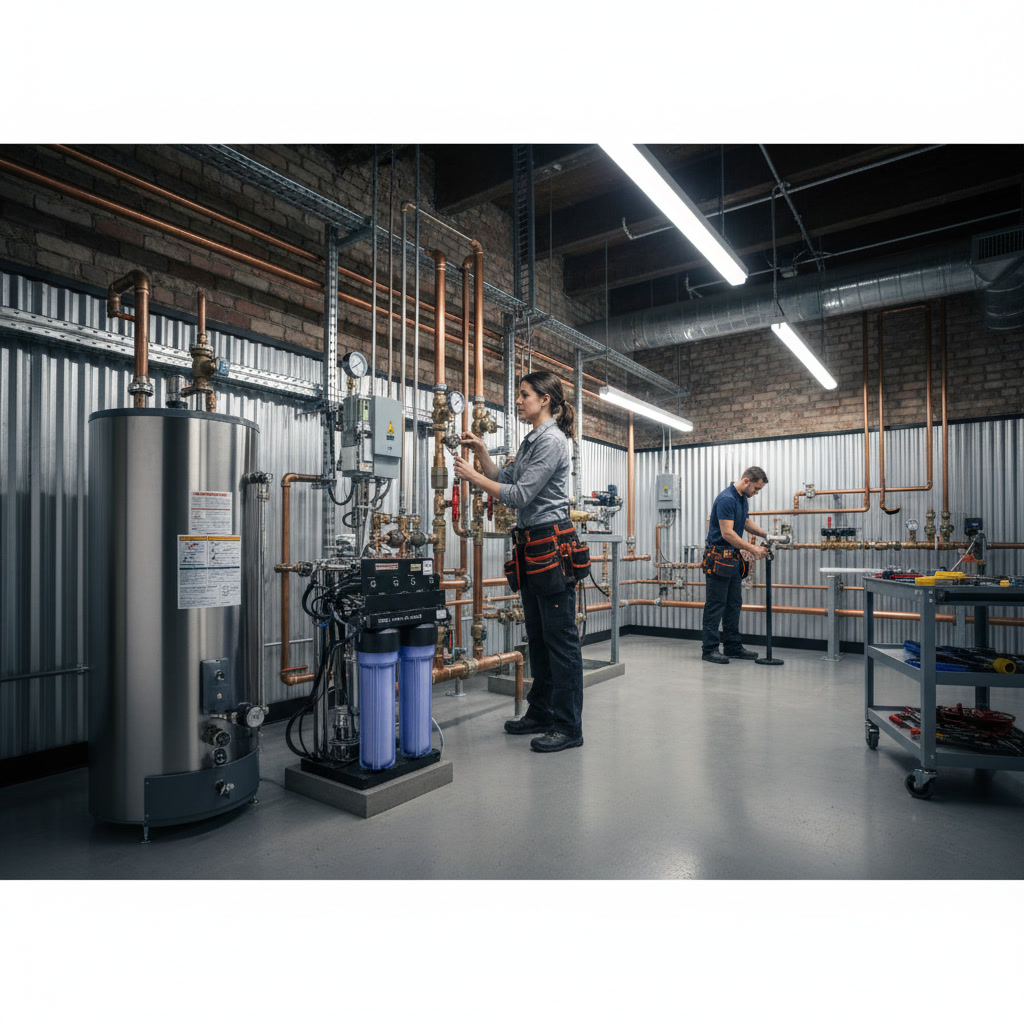
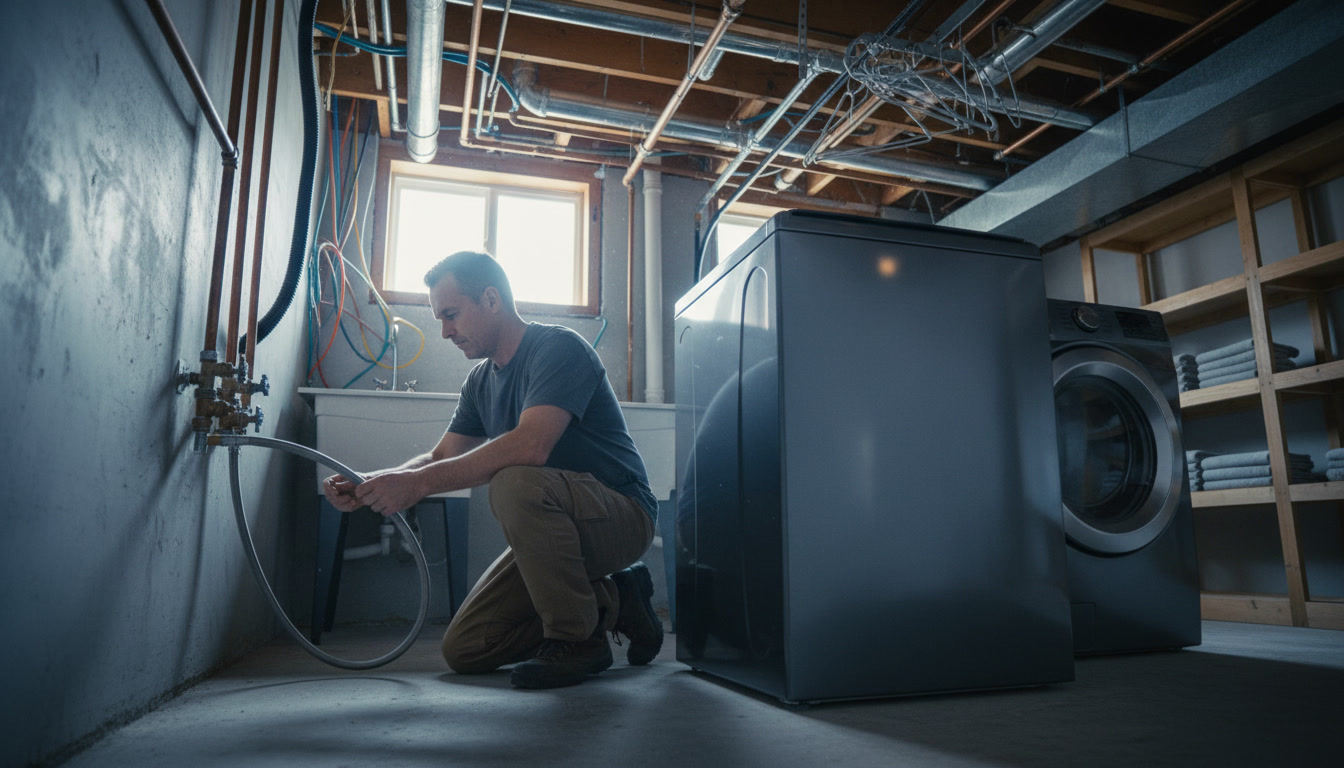
High-efficiency washers require larger drain capacity, different water pressure specifications, and updated supply line configurations compared to traditional top-load machines. To properly prepare laundry lines installation, you need to verify your existing drain can handle 17 gallons per minute flow rates, upgrade supply valves to quarter-turn ball valves, and ensure drain standpipes reach at least 34 inches in height. Most homes built before 2000 need at least one or two modifications before an HE washer can operate without risk of overflow or supply line failure.
Understanding High-Efficiency Washer Plumbing Requirements
High-efficiency front-load and top-load washers operate fundamentally differently than older machines. They use less water per cycle but discharge that water much faster during the spin cycle. A standard older washer might drain at eight to 10 gallons per minute, while an HE model can push 17 to 20 gallons per minute through your drainage system.
This dramatic increase in flow rate means your existing two-inch drain line might struggle to keep up, especially if it includes multiple bends or runs more than 10 feet to the main stack. The supply side also requires attention because HE washers rely on precise water pressure between 20 and 120 PSI to function properly. Old corroded gate valves or undersized half-inch supply lines can restrict flow enough to trigger error codes or extend wash cycles significantly.
Why Older Laundry Room Plumbing Fails With Modern Washers
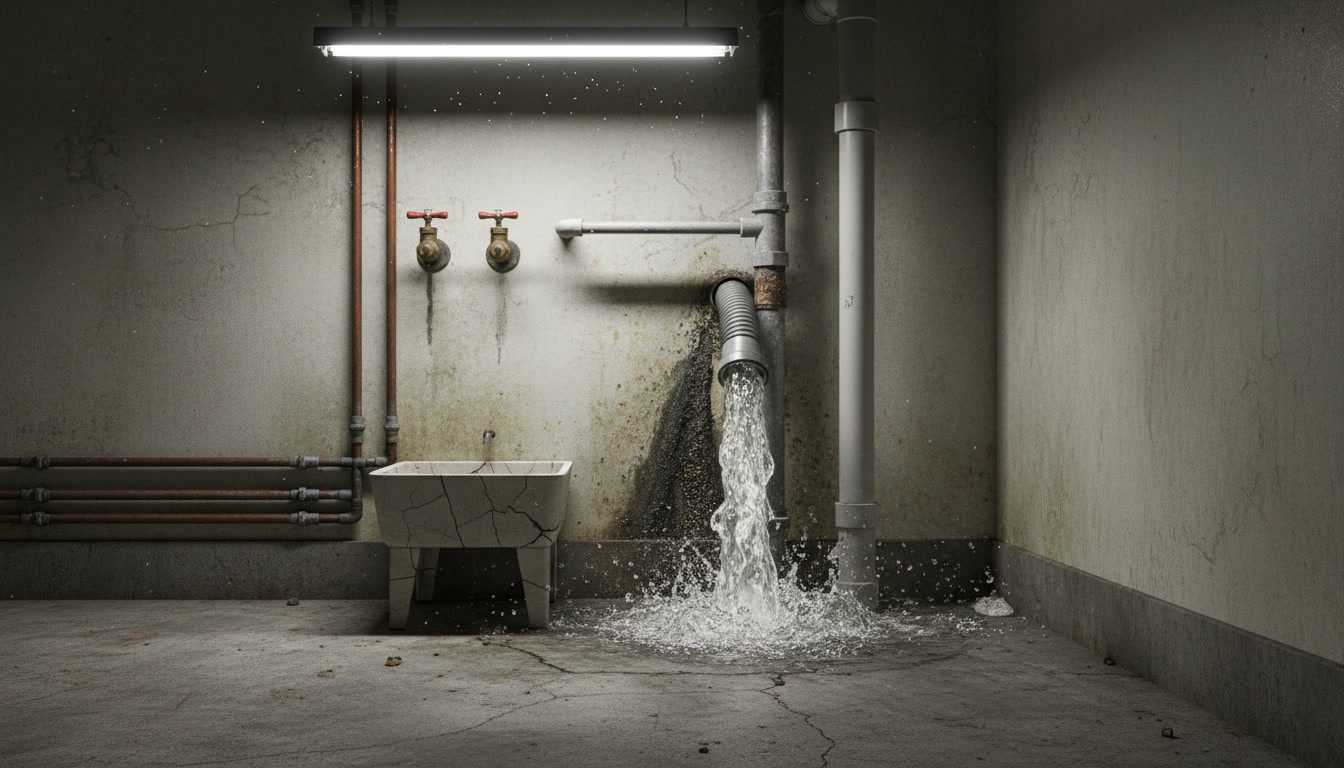
Most laundry room plumbing installed before 2000 was designed for machines that filled slowly and drained gradually. The standpipe might sit at only 18 to 24 inches, which worked fine when washers pumped gently. Modern HE washers create a surge during the spin cycle that can easily overwhelm a short standpipe, causing water to back up and spill onto your floor.
Gate valves, common in older installations, develop internal corrosion that restricts water flow. Quarter-turn ball valves are now the standard because they open fully with a 90-degree turn and resist mineral buildup. If you notice your current machine takes longer to fill than it used to, your supply valves are likely restricting flow. Similar issues affect drain cleaning needs throughout your home when fixtures age beyond their functional lifespan.
Measuring Your Current Drain Standpipe Height and Capacity
The standpipe is the vertical pipe behind your washer where the drain hose connects. For HE washers, this pipe must be between 34 and 72 inches tall, measured from the floor to the top of the pipe. Too short and water backs up during the high-volume discharge. Too tall and the washer pump works harder than designed, potentially shortening its lifespan.
Use a tape measure to check your current standpipe height. If it falls below 34 inches, you will need to extend it before installing your new washer. The standpipe should also have a P-trap installed between the washer connection and the main drain line. This trap prevents sewer gases from entering your laundry room and maintains proper drainage flow.
Upgrading Supply Lines and Shutoff Valves
Replace any supply lines older than five years as a standard precaution. Rubber hoses deteriorate from the inside out, and you cannot always see the damage before a catastrophic failure occurs. Stainless steel braided hoses rated for washing machine use provide better burst resistance and typically include a 10-year warranty.
Your shutoff valves should be quarter-turn ball valves mounted at a comfortable working height, typically 42 to 48 inches from the floor. This height prevents strain when you need to shut off water for maintenance and keeps connections above potential floor flooding. Old gate valves require multiple turns to close fully and often leak at the packing nut after years of service. Replacing them now prevents emergency calls later when a valve fails while you are running a load.
Drain Line Size and Slope Verification
Most building codes require a minimum two-inch diameter drain line for washing machines. Measure your existing drain pipe where it connects to the standpipe. If it measures 1.5 inches or less, you must upgrade to a two-inch line before installing an HE washer. The higher flow rates will cause frequent backups and potential water damage with an undersized drain.
The drain line must slope at least one-quarter inch per foot toward the main stack. Use a level to check this slope if you have access to the drain line in a basement or crawl space. Insufficient slope allows water to pool in the line, creating slow drainage and increasing the risk of clogs from lint and detergent residue buildup.
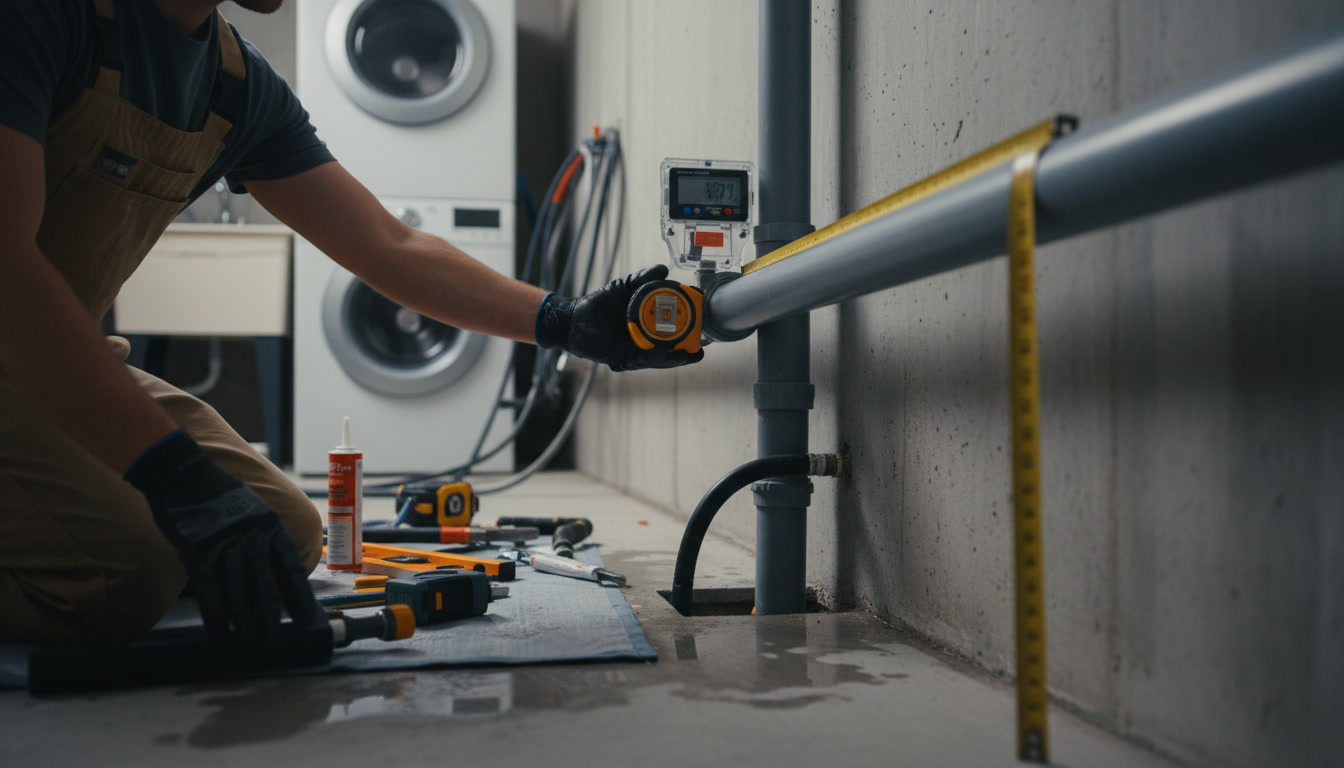
Step-by-Step Preparation Checklist Before Installation Day
Start by shutting off water to the laundry room at the main supply valves. Open the existing valves to drain residual pressure from the lines. Remove the old supply hoses and inspect the valve threads for corrosion or damage. If you see mineral buildup or stripped threads, replacement is necessary.
Next, check the standpipe height and measure the drain line diameter. Mark any modifications needed on a list so you can address them in order. If you need to extend the standpipe, calculate the new height to fall within the 34 to 72-inch range. Purchase the correct length of two-inch PVC pipe and the appropriate fittings for your connection type.
Install new quarter-turn ball valves if your current shutoffs are outdated. These valves should include built-in arrestors or you should install water hammer arrestors separately. HE washers close their internal valves rapidly, creating pressure spikes that cause pipes to bang without proper arrestors in place.
Finally, attach new stainless steel braided supply hoses rated for washing machine use. Hand-tighten the connections, then use a wrench to turn an additional quarter turn. Over-tightening damages the rubber washers inside the fittings and actually increases the risk of leaks. Professional laundry line installations follow these precise torque specifications to ensure long-term reliability.
Electrical and Venting Considerations for Laundry Rooms in Lynwood
HE washers typically require a dedicated 120-volt circuit, though some larger models need 240 volts. Check your new washer specifications before installation day to confirm your electrical service matches. If you are upgrading to a combo washer-dryer unit or installing both new appliances, you may need an electrician to add circuits or upgrade your panel capacity.
Dryer venting also deserves attention during laundry room upgrades. Ensure your dryer vent runs no more than 25 feet to the exterior termination point, with deductions for each 90-degree elbow. Rigid metal ductwork provides better airflow than flexible foil or plastic options. Clean the entire vent run before installing new appliances to maximize efficiency and reduce fire risk.
When to Call a Professional Plumber for Laundry Room Updates
Simple supply hose replacement and valve upgrades are manageable DIY tasks for most homeowners with basic tools. However, extending standpipes, relocating drain lines, or modifying main stack connections require professional expertise. Improper drain line slope or P-trap installation can create chronic problems that cost more to fix later than doing it right the first time.
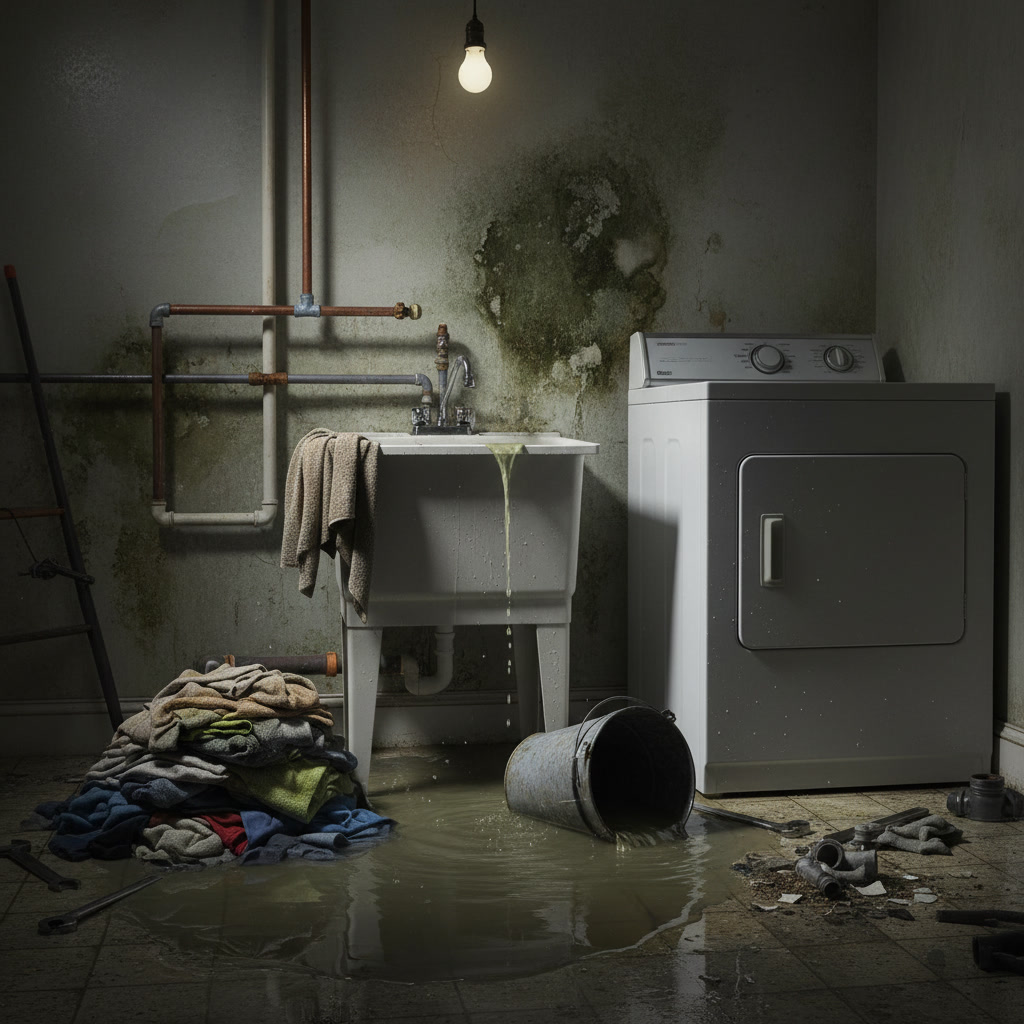
If your laundry room shows signs of existing plumbing problems such as slow drainage, water stains on walls, or musty odors, address these issues before installing expensive new appliances. A professional inspection identifies hidden problems like corroded pipes inside walls or inadequate venting that could damage your new washer within months of installation.
Testing Your Updated Plumbing Before Washer Delivery
After completing all modifications, run water through the system to check for leaks and proper drainage. Turn on both hot and cold supply valves fully and let water flow into a bucket for 30 seconds. Watch all connections for drips or seepage. Even small leaks will worsen over time as washers cycle on and off hundreds of times per year.
Test the drain by pouring five gallons of water rapidly into the standpipe. The water should drain immediately without backing up or gurgling excessively. If you notice slow drainage or hear loud gurgling sounds, the drain line may have inadequate slope or a partial blockage that needs clearing before your washer arrives.
Common Mistakes That Damage New High-Efficiency Washers
The most frequent error is leaving old rubber supply hoses in place because they appear fine externally. These hoses fail without warning, and a burst hose can release hundreds of gallons of water before you discover the problem. Insurance claims for washing machine supply line failures total millions of dollars annually, with most failures occurring in hoses older than five years.
Another common mistake is ignoring water hammer arrestors. When an HE washer closes its intake valves rapidly, the sudden pressure spike travels back through your supply lines. Without arrestors to absorb this shock, the repeated stress loosens joints throughout your plumbing system. You might not notice problems immediately, but within a year you will likely face leaks at multiple connection points. Similar principles apply to water heater repair scenarios where pressure fluctuations cause premature component failure.
Protecting Your Investment With Proper Preparation
High-efficiency washers represent a significant investment in your home’s functionality and utility costs. These machines use 30 to 50 percent less water and 20 to 40 percent less energy than traditional washers, but they depend on properly configured plumbing to deliver those savings. Spending a few hundred dollars on supply line upgrades, valve replacements, and drain modifications protects a thousand-dollar appliance and prevents water damage that could cost tens of thousands to remediate.
The preparation work also extends your washer’s lifespan. Machines that struggle with inadequate water pressure or fight against restricted drainage work harder and fail sooner. Manufacturers design HE washers to operate within specific parameters, and your plumbing must support those requirements. Taking time to verify and upgrade your laundry room plumbing before delivery day ensures your new washer performs as designed for its full expected lifespan of 10 to 15 years.
Cisco Plumbing INC has helped countless homeowners throughout the region upgrade their laundry room plumbing to support modern high-efficiency appliances. Our experience with both residential and commercial plumber projects means we understand the specific requirements different washer models demand and can configure your plumbing accordingly.
If your home needs laundry room plumbing updates before your new washer arrives, our team provides complete assessments and professional installation services. We will verify your drain capacity, upgrade supply valves and lines, adjust standpipe height, and test the entire system to ensure everything functions properly. Contact us at +14242271819 to schedule an inspection and get your laundry room ready for modern high-efficiency washing machines.