The faucet replacement process begins with a thorough assessment of your existing fixture and ends with rigorous testing to ensure proper installation. Professional technicians follow a systematic approach that includes shutting off water supply, removing the old faucet, preparing the mounting surface, installing the new fixture, and conducting leak tests. This method prevents common installation errors that can lead to water damage, leaks, or premature fixture failure.
Why Faucet Replacement Requires More Than Basic DIY Skills
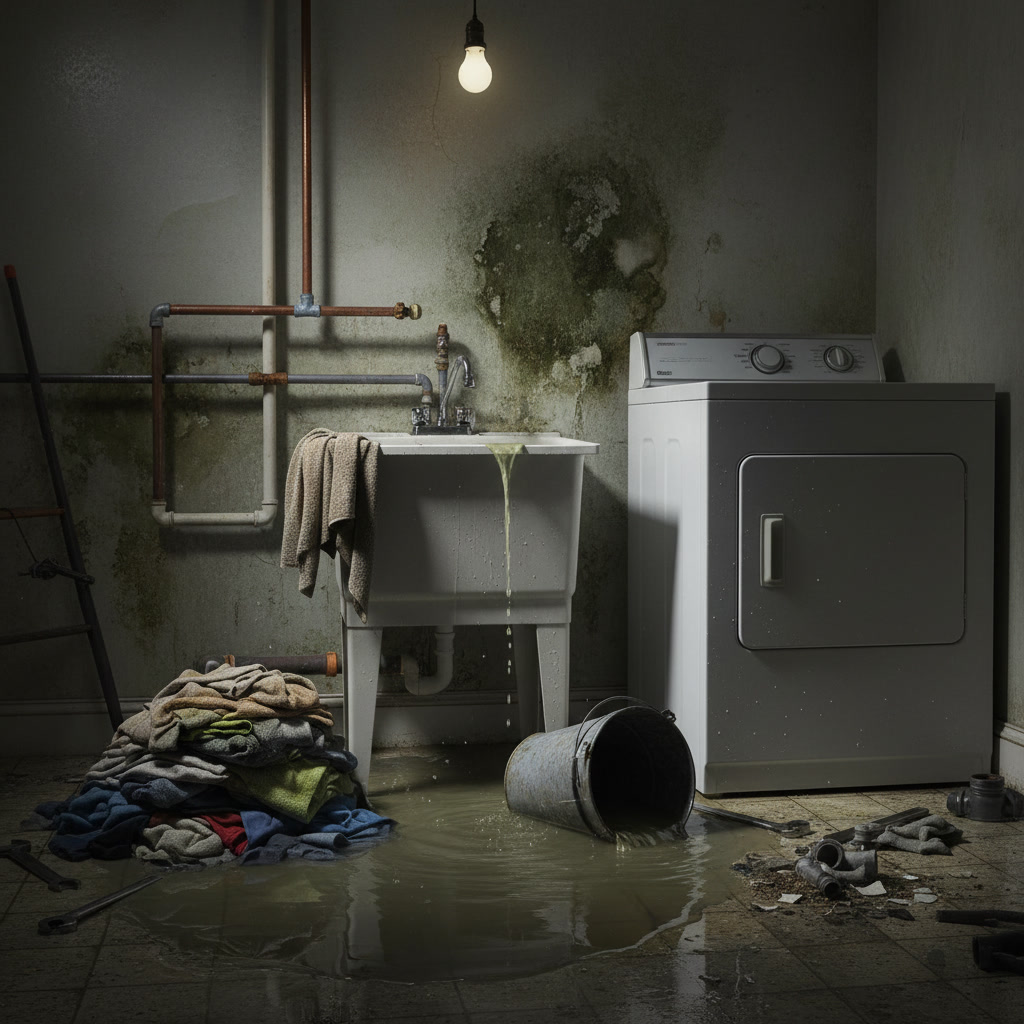
Many homeowners assume replacing a faucet is a simple weekend project. While it may seem straightforward, the reality involves working with water supply lines, understanding various mounting configurations, and recognizing when underlying plumbing issues need attention. A leaking supply line or corroded mounting hardware can turn a quick swap into a costly emergency if not handled correctly.
Professional plumbers bring specialized tools and experience that make the difference between a job that lasts years and one that creates problems within months. They know how to identify red flags like mineral buildup, worn shutoff valves, or mismatched connections that signal bigger concerns.
When to Replace Rather Than Repair Your Faucet
Not every dripping or stiff faucet needs full replacement. Sometimes a simple washer change or cartridge replacement solves the problem. However, when corrosion has set in, when the finish has deteriorated beyond cosmetic repair, or when internal components are no longer available for older models, replacement becomes the smarter choice.
If you find yourself constantly calling for faucet repair, the cumulative cost often exceeds the price of a new, reliable fixture. Age matters too. Faucets older than 15 years typically lack the water-saving features and durability of modern designs, making replacement both economical and environmentally responsible.
Initial Assessment and Preparation Steps
Before any wrench touches your plumbing, a qualified technician evaluates the entire setup. They check the condition of supply lines, examine the mounting area for damage or rot, and verify that the new faucet matches your sink configuration. Single-hole, three-hole, and wall-mount faucets each require different approaches.
The technician also confirms that shutoff valves beneath the sink function properly. Valves that have not been turned in years often seize or develop leaks when disturbed. Identifying this in advance prevents mid-job surprises. The area beneath the sink gets cleared, and drop cloths protect countertops and flooring from scratches or water spills.
Shutting Off Water and Draining Lines
The first technical step involves closing the hot and cold shutoff valves located under the sink. After closing, the technician opens the faucet handles to release any remaining pressure and drain residual water from the lines. This prevents unexpected spray or spillage during disconnection.
In older homes where individual shutoff valves are absent or non-functional, the main water supply to the house may need temporary shutdown. A skilled plumber anticipates this and plans accordingly, minimizing disruption to your household.
Removing the Old Faucet and Supply Lines in Lynwood Homes
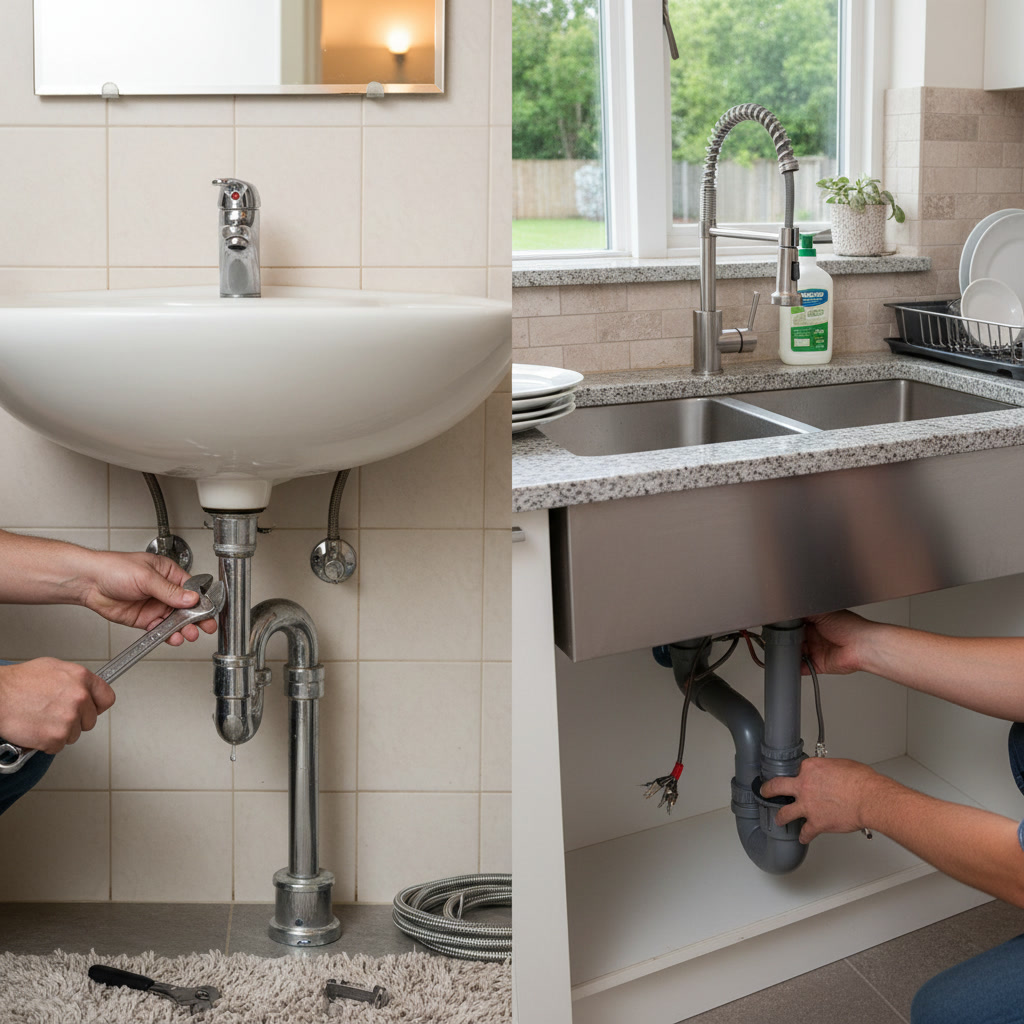
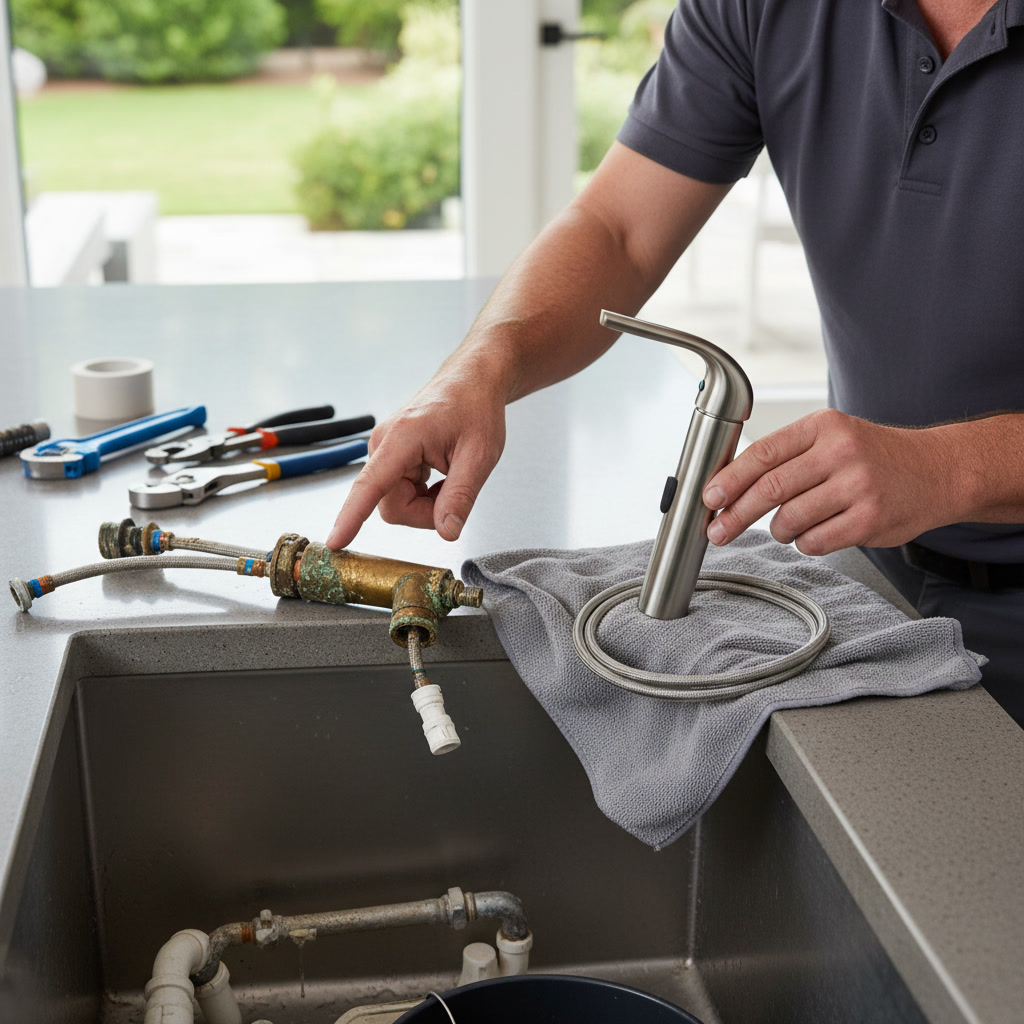
With water supply safely off, the technician disconnects the supply lines from the faucet tailpieces using a basin wrench or adjustable wrench. These lines often show signs of wear, mineral deposits, or hardening, and professionals typically recommend replacing them during a faucet swap to avoid future leaks.
Next, the mounting hardware that secures the faucet to the sink gets removed. This can involve nuts beneath the sink deck or a mounting plate system. Corrosion or over-tightening from the original installation sometimes makes removal challenging. Experienced technicians use penetrating oil and patience rather than brute force, which could crack porcelain or damage the sink.
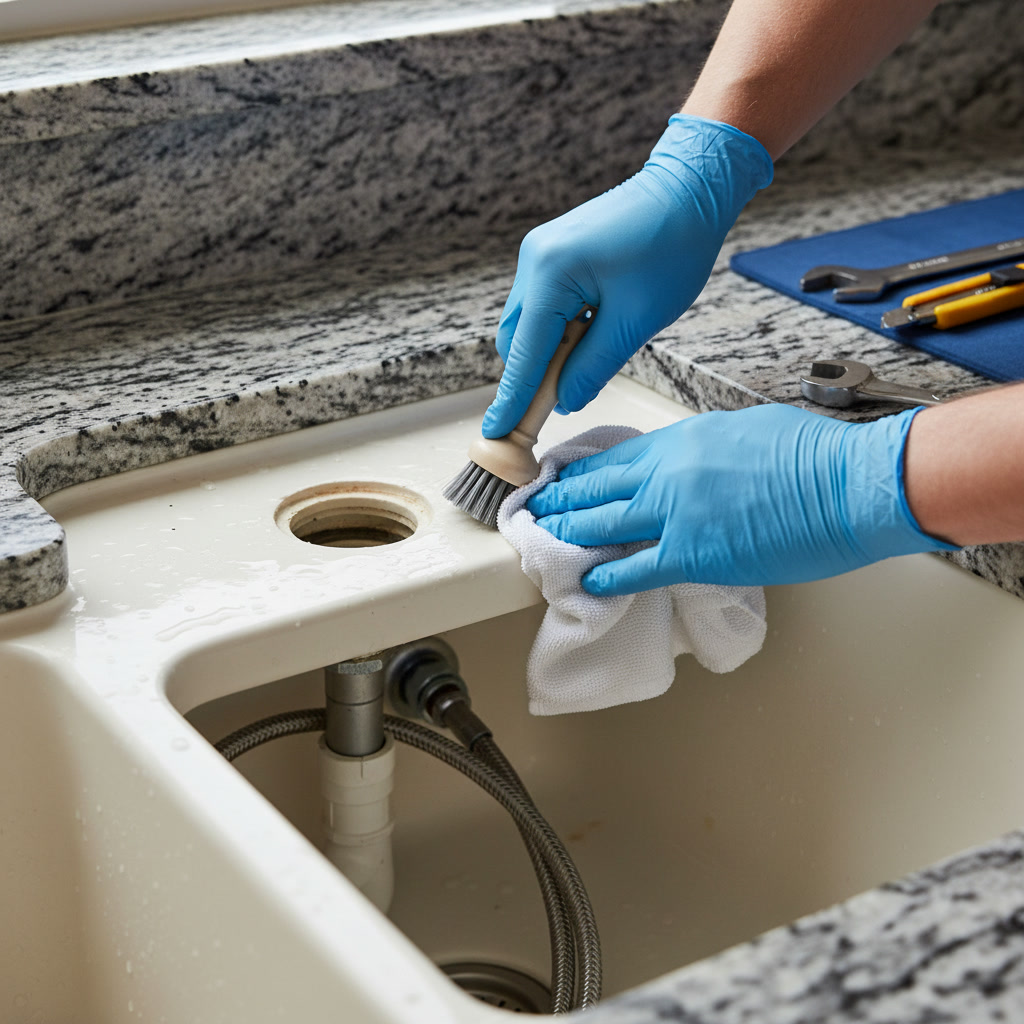
Once freed, the old faucet lifts away, exposing the mounting surface. In many Lynwood homes built decades ago, the exposed area reveals mineral buildup, old plumber’s putty, or silicone residue that must be cleaned before the new fixture goes in.
Cleaning and Inspecting the Mounting Surface
A clean mounting surface ensures a watertight seal and prevents the new faucet from sitting unevenly. Technicians scrape away old sealant, wipe down the sink deck with appropriate cleaners, and inspect the sink material for cracks or damage that could compromise the new installation.
This step also reveals whether the sink holes need modification. If you are upgrading from a three-hole to a single-hole faucet, a deck plate covers the unused openings. If switching from single to spread, additional drilling might be necessary, though most homeowners choose fixtures compatible with existing configurations to avoid extra work.
Installing the New Faucet: A Step-by-Step Breakdown
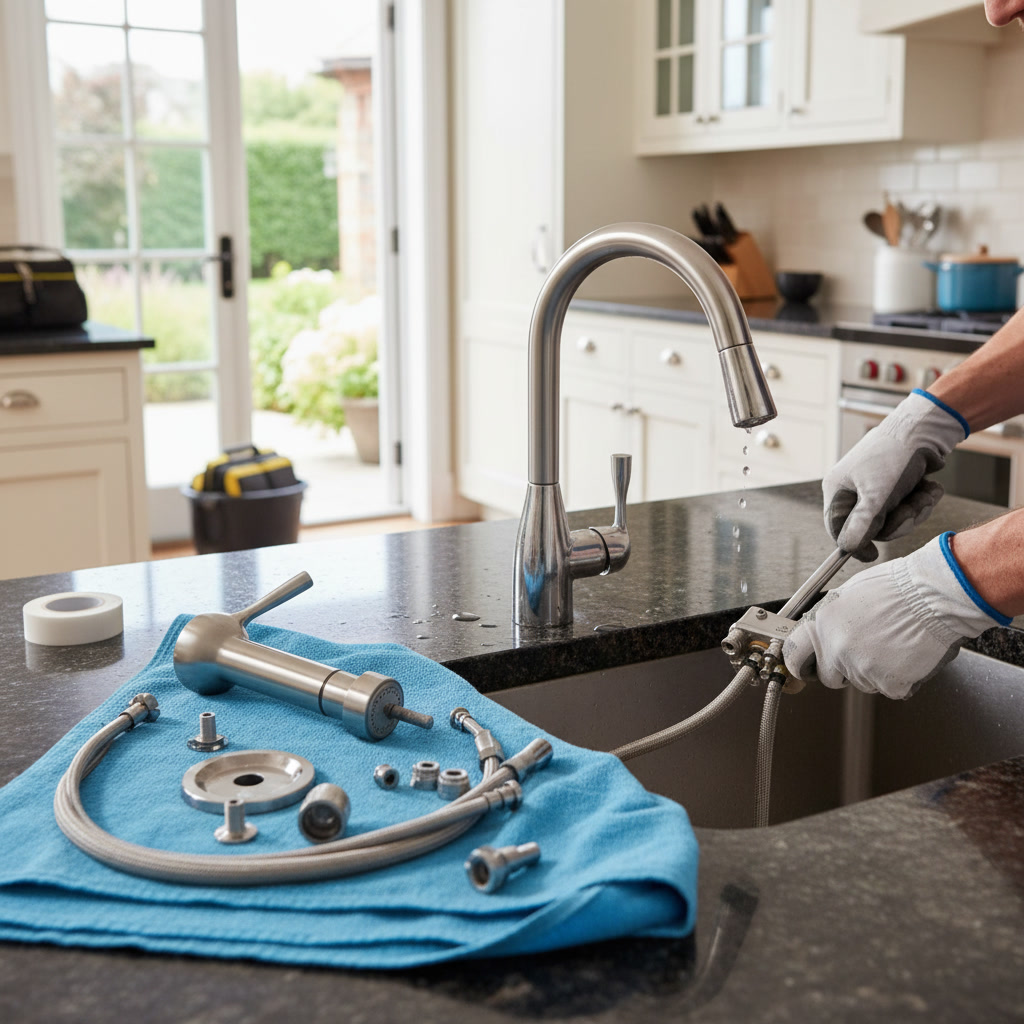
Installation begins by threading supply lines through the sink holes if the faucet design requires it. Some models come with pre-attached lines, while others use separate braided or rigid copper connections. The technician positions the faucet body, ensuring proper alignment and that any gasket or rubber seal sits flush against the sink.
From beneath the sink, mounting hardware gets hand-tightened first, then carefully snugged with tools to manufacturer specifications. Over-tightening can crack the sink or distort the faucet base, while under-tightening leads to movement and leaks. Professional installers know the feel and torque needed for different materials.
Supply lines then connect to the shutoff valves. Modern braided stainless steel lines offer flexibility and durability, and they come in various lengths to fit different sink depths. The technician ensures connections are straight, not cross-threaded, and secure without excessive force.
If your new fixture includes additional components like a side sprayer, soap dispenser, or pull-down spray head, these get installed and tested as part of the process. Each connection point represents a potential leak if not handled with precision.
Connecting Water Supply and Checking for Leaks
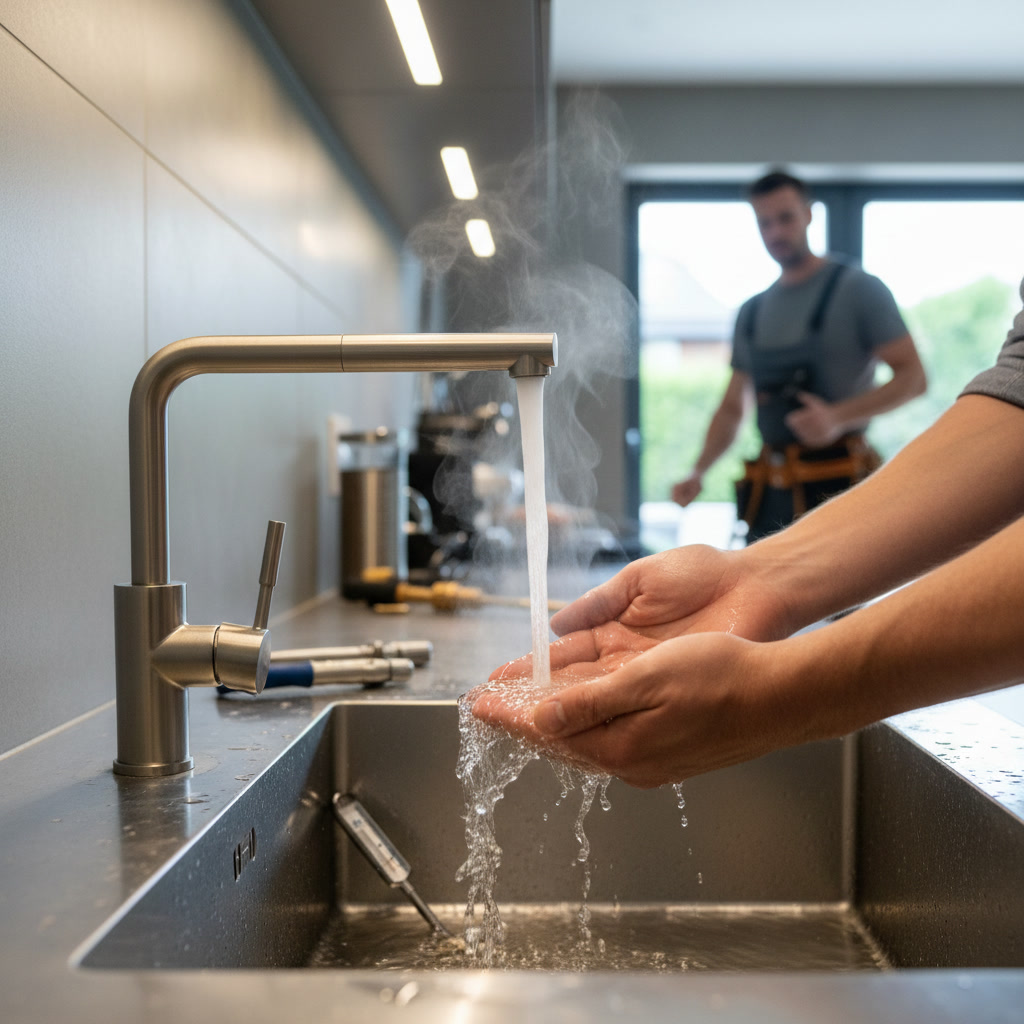
With all components in place, the technician slowly reopens the shutoff valves while watching each connection point. Water pressure reveals even small imperfections in threading or sealing. Any drips or seepage get addressed immediately by tightening or resealing as needed.
The faucet handles then cycle through hot and cold, and any included spray functions get activated multiple times. This confirms that internal cartridges or valves operate smoothly and that water flows at expected volume and temperature. Low flow might indicate debris in the aerator or a partially closed valve.
Testing Temperature Control and Water Pressure
After confirming leak-free connections, the technician tests temperature mixing. Hot water should arrive within a reasonable time, and the handle should provide smooth transition from cold to hot without sudden temperature spikes. Poor mixing can signal installation errors or issues with your water heater, which a professional can identify on the spot.
Water pressure gets evaluated at various handle positions. Weak flow might point to clogged aerators, undersized supply lines, or problems elsewhere in your plumbing system. This diagnostic step often uncovers issues unrelated to the faucet itself, offering an opportunity for preventive maintenance before minor problems escalate.
Similar attention to detail applies across all plumbing services, whether you need a simple fixture swap or more complex work like sink repair or drain cleaning.
Final Inspection and Clean-Up
The final walkthrough involves checking that all mounting hardware remains tight, that the faucet operates smoothly, and that no water has pooled beneath the sink or around the base. The technician removes protective coverings, wipes down the fixture, and ensures the work area looks as clean as it did before arrival.
You receive guidance on proper use and maintenance, including how often to clean aerators and what products to avoid that might damage the finish. Many manufacturers offer warranties that require proper care, and understanding these details protects your investment.
Professional technicians also note any observations about your plumbing system that might warrant future attention. For example, if your supply lines showed unusual wear or your shutoff valves struggled to close, that information helps you plan for proactive maintenance rather than reactive emergencies.
Trusting Experienced Professionals for Lasting Results
A properly executed faucet installation delivers years of trouble-free operation, while shortcuts or amateur errors can cause water damage, mold growth, or repeated service calls. The expertise that Cisco Plumbing INC brings to every job comes from over 20 years serving homeowners throughout South Gate, Carson, Gardena, and Paramount. That experience translates to fewer callbacks, better warranty support, and the confidence that your plumbing system is in capable hands.
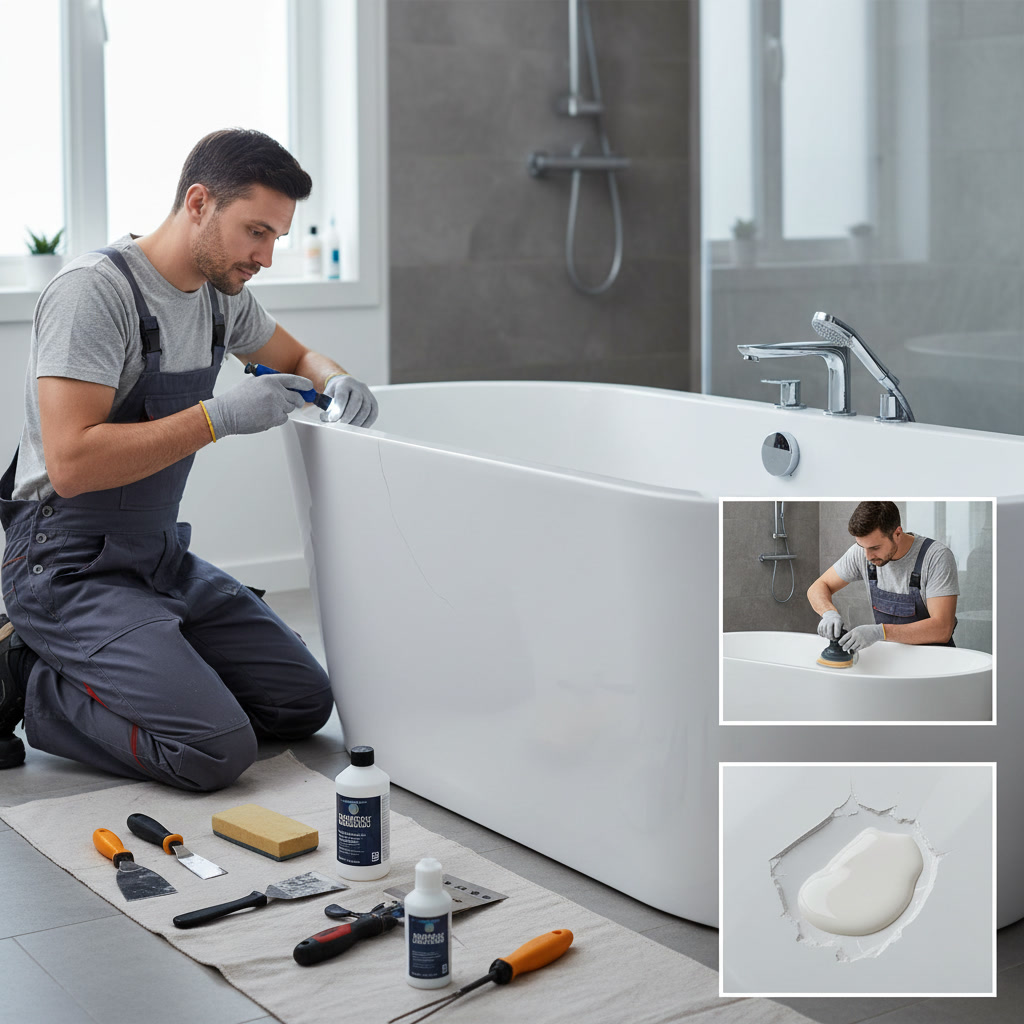
Whether you need a straightforward fixture swap or discover during the process that you also require bathtub repair or other upgrades, working with licensed professionals ensures code compliance, proper materials, and workmanship that protects your home value. The small additional cost over DIY attempts pays for itself many times over in durability and peace of mind.
If you are ready to upgrade your faucets or need expert guidance on whether repair or replacement makes the most sense for your situation, Cisco Plumbing INC stands ready to help. Our team serves communities throughout the Compton area with the same dedication to quality and customer care that has defined our reputation for two decades. Reach out at +14242271819 to schedule your service appointment and experience the difference that professional plumbing brings to your home.